Multi-texture blending with vertex colors
Vertex colors are not used only in retro-styled games, they can also be used to store weights that can be used for all kinds of things in shaders, such as blending multiple textures. By painting vertex colors in the separate RGBA channels, you can use the value from 0.0 to 1.0 from these channels as weights to blend textures.
Vertex Studio supports painting in the separate RGBA channels, either individually or additively. See R/G/B/A Channels.
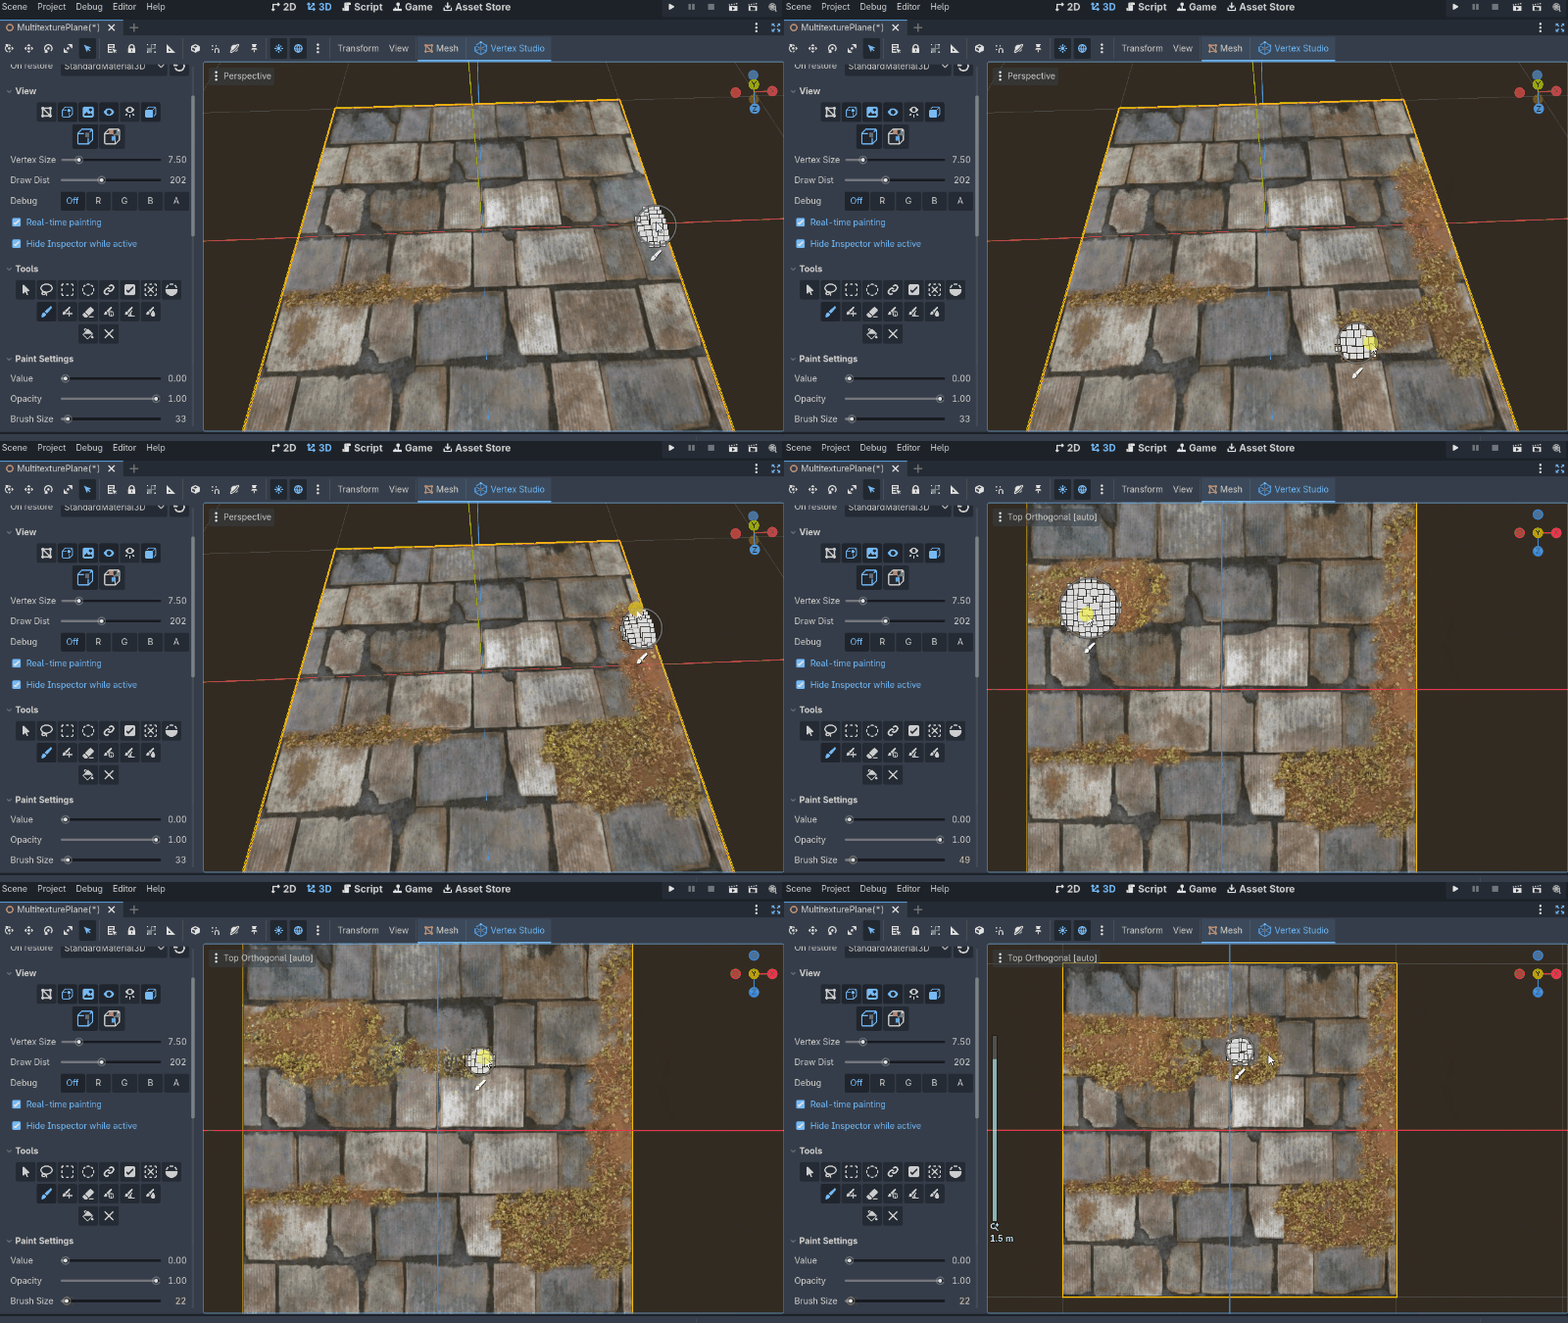
Blending between two textures by painting in the A (Alpha) vertex color channel:
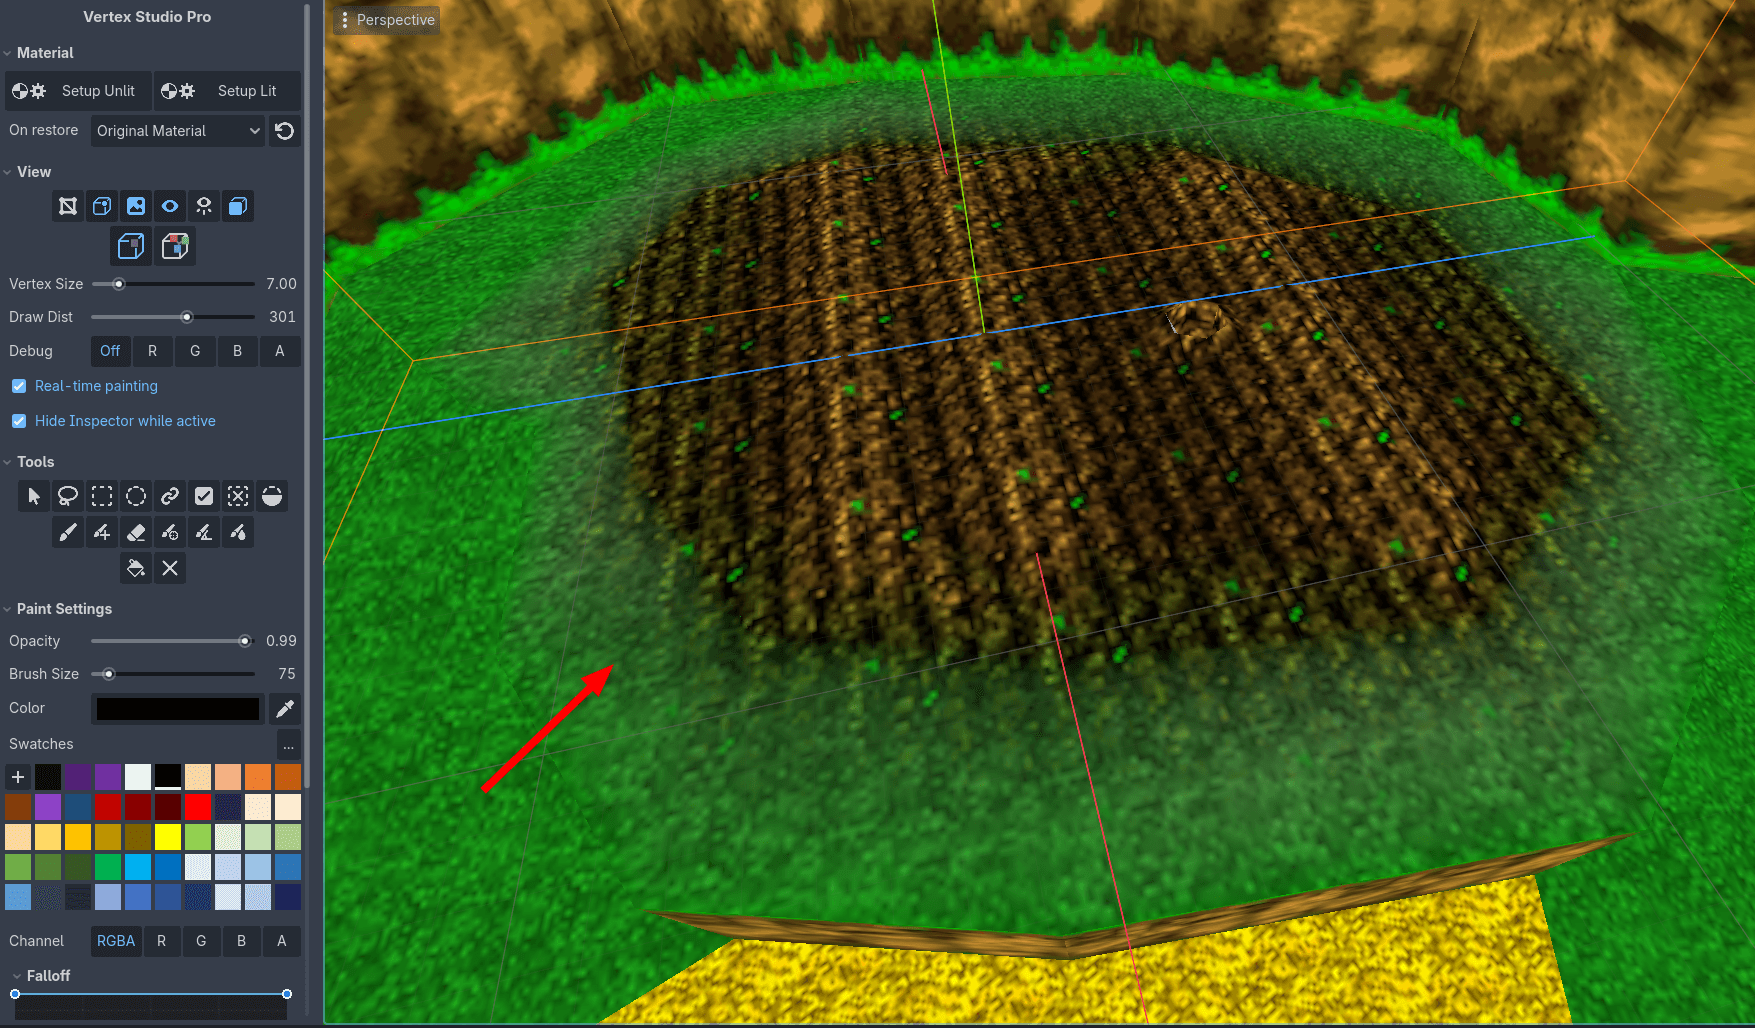
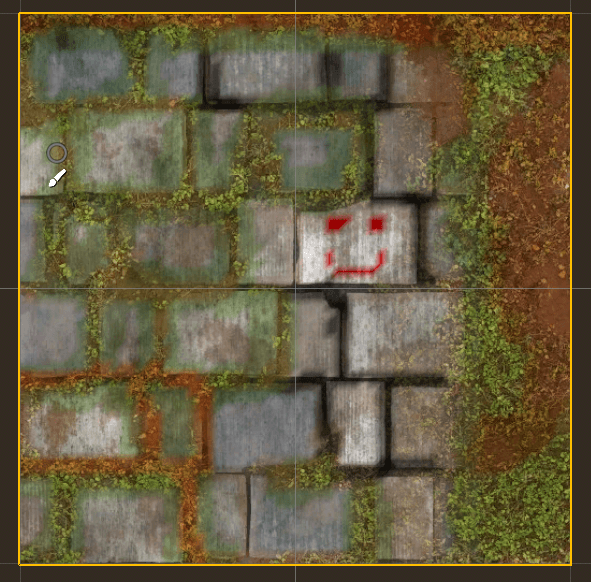
In this Banjo-Kazooie segment from the Spiral Mountain level that I recreated in Godot, you can see the grass blends with the field texture from a value that comes from the A channel. The grass itself is also painted with vertex color in the RGB channel. So, this is an example of having both the texture blending and vertex colors used together (Banjo-Kazooie did this extensively in all levels):
Note
This tutorial requires Vertex Studio Pro ⭐.
Sample project
If you want, you can download the complete sample project from GitHub. Extract the zip file and open the project in Godot.
Files relevant to this tutorial are in the folder
Advanced/MultitextureBlending.You can paint the same plane painted in the previous image, it’s the scene
Advanced/MultitextureBlending/MultitexturePlane.tscn.
Note
If you already download the sample project from the Quickstart Tutorial, it’s the exact same project.
Shader and material setup
Blending textures is not something that is part of Vertex Studio, and Vertex Studio does not limits what you can do with vertex colors and does not impose that you use this or that shader or material. Instead, you can use any custom shader and material, since vertex colors live in the mesh itself. Then, you can use the vertex color information in any shader, in any way you want.
Let’s create the shader that allows for the effects showed in the images above. It’s a pretty simple shader that mixes two textures, where the mix weight/blend factor comes from the vertex color alpha channel (A). Then the shader multiplies the final color with the vertex colors.
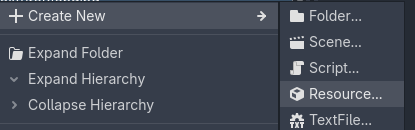
Create a new Resource and choose
VisualShader.
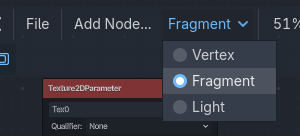
In the visual shader editor, select
Fragmenton the top menu.
Then add the following nodes:
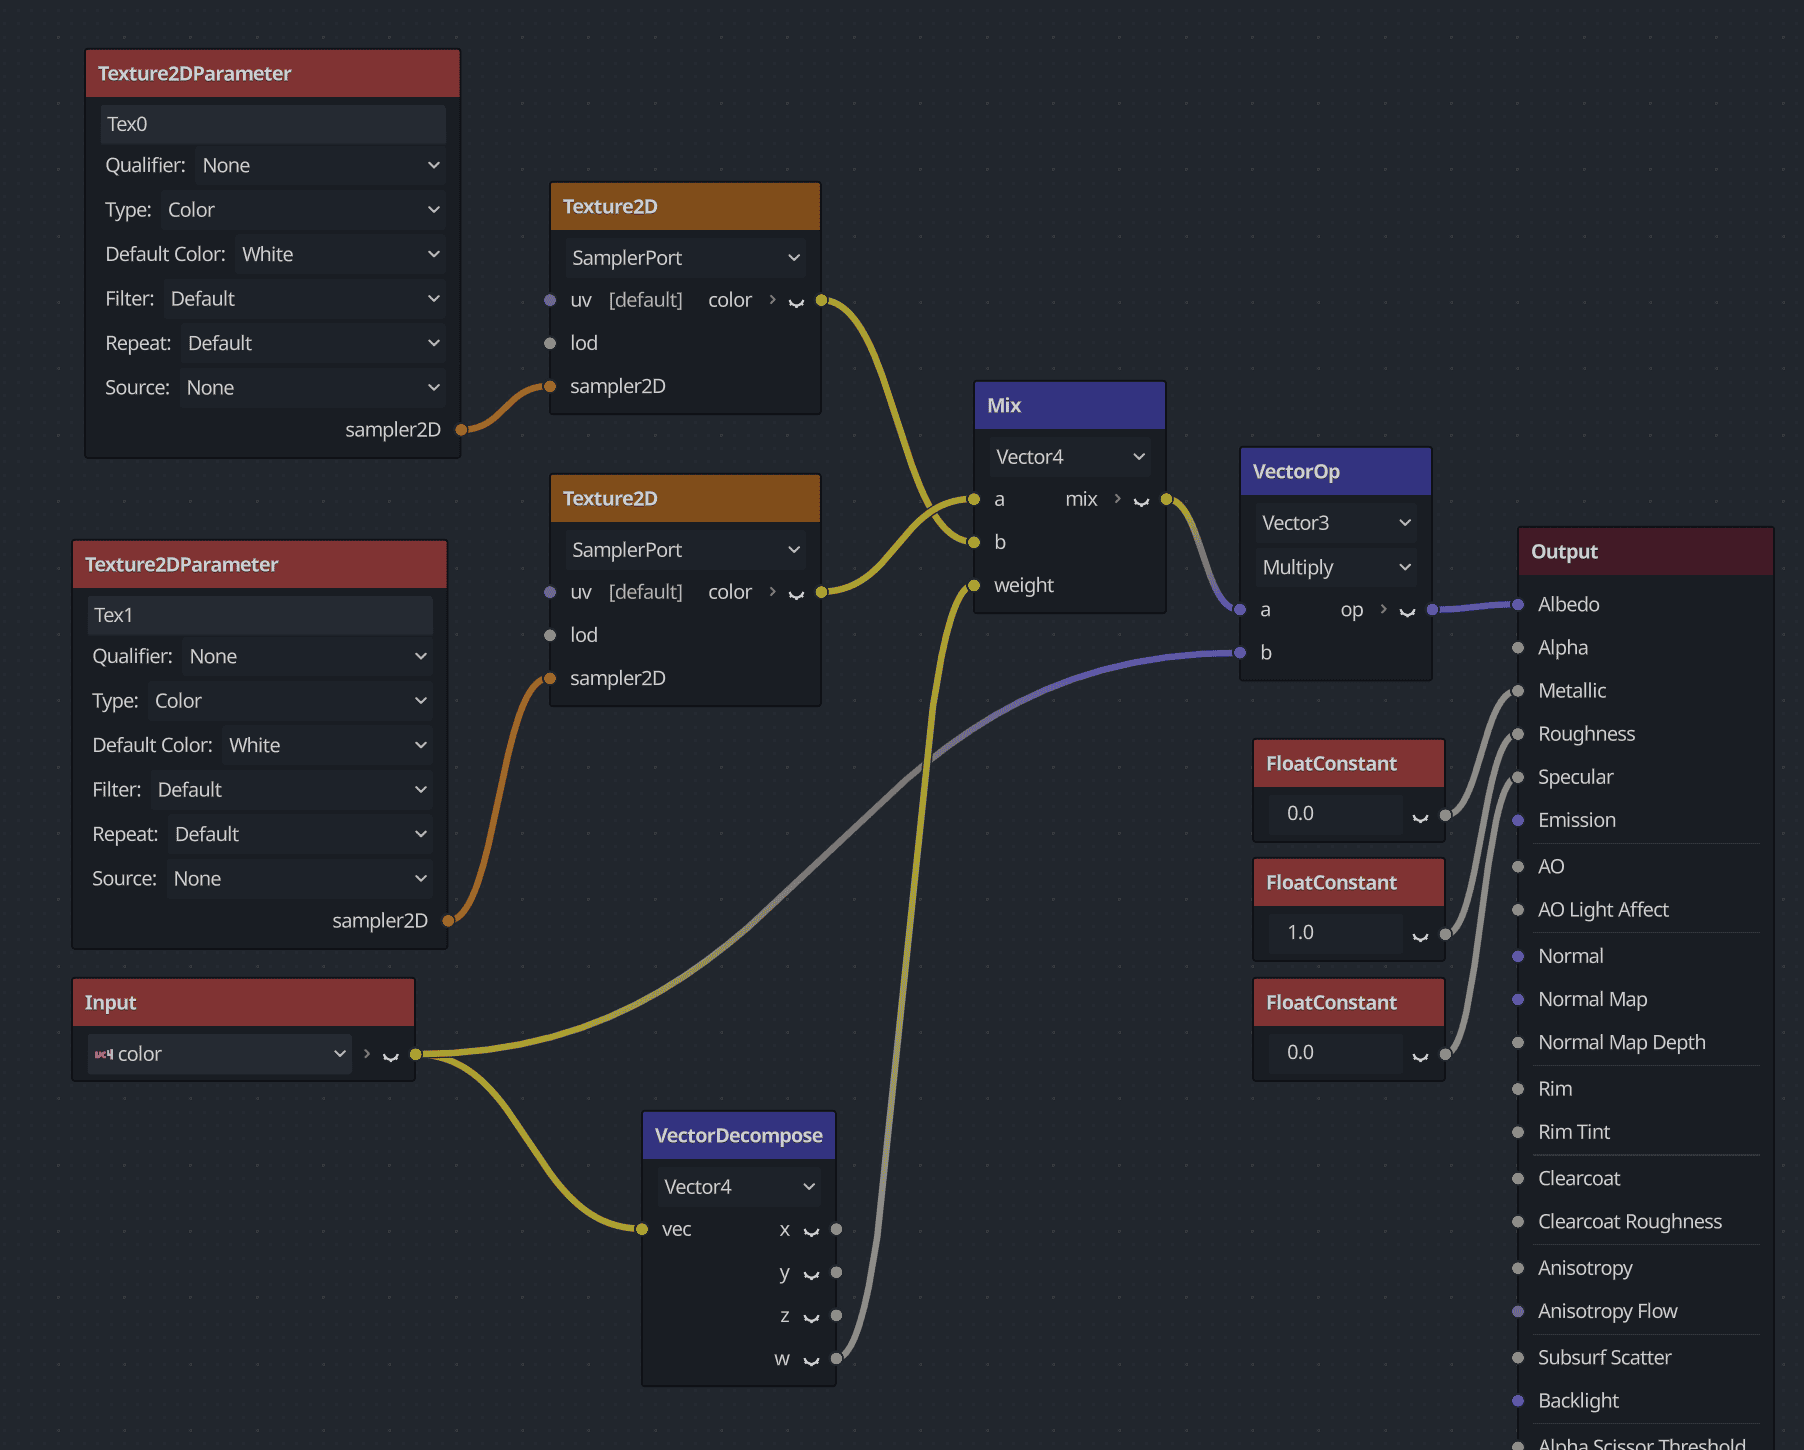
Create a new Resource and choose
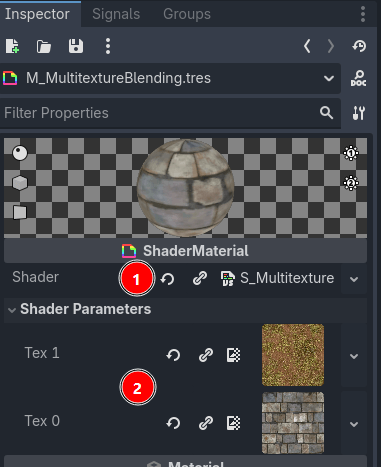
ShaderMaterial. Double-click the material, and in the inspector, drag the Resource file of the shader that you created previously intoShaderand assign the textureTex0toTex1.
Note
In the sample project the shader is the file S_MultitextureBlending.tres and the material is the file M_MultitextureBlending.tres. The sample material uses textures from the folder res://Models/Textures/.
Tip
See the Material Setup page and My model has a custom shader and custom material, can I use Vertex Studio to paint it? to learn more about material setup and shader usage.
Assign the material to the mesh
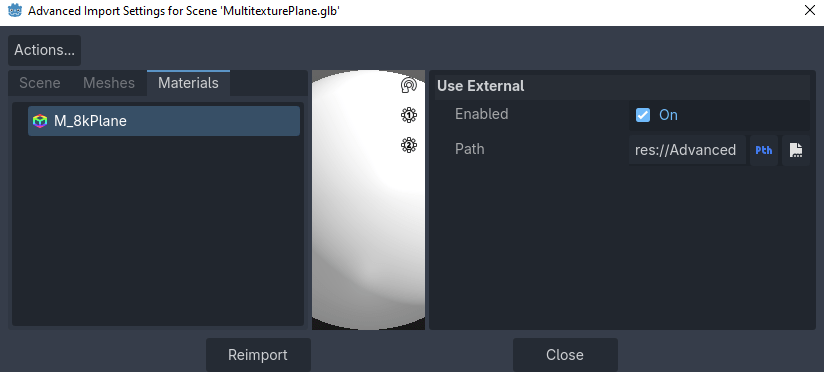
Assign this material to a mesh. In the sample project, it’s assigned to the high poly plane mesh from
MultitexturePlane.glbin the mesh import settings (double click the source file, go toMaterialsand enableUse Externalfor the only available material, and then select the material file).
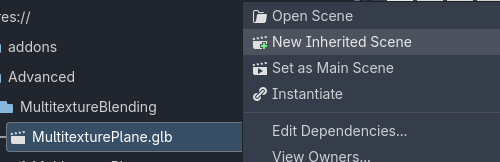
Right-click the
GLBand chooseNew Inherited Scene(or just open the sample fileMultitexturePlane.tscn).
Painting in the Alpha (A) channel
Open the scene, click the
Planenode and activate Vertex Studio.
Note
If you recall from the Quickstart Tutorial, the first step was to click Setup Unlit to setup the mesh to use Vertex Studio’s special painting material. But this time we want to keep using our custom material in order to see the texture blending in action as we paint.
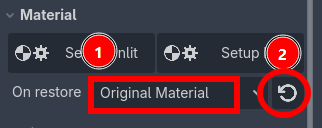
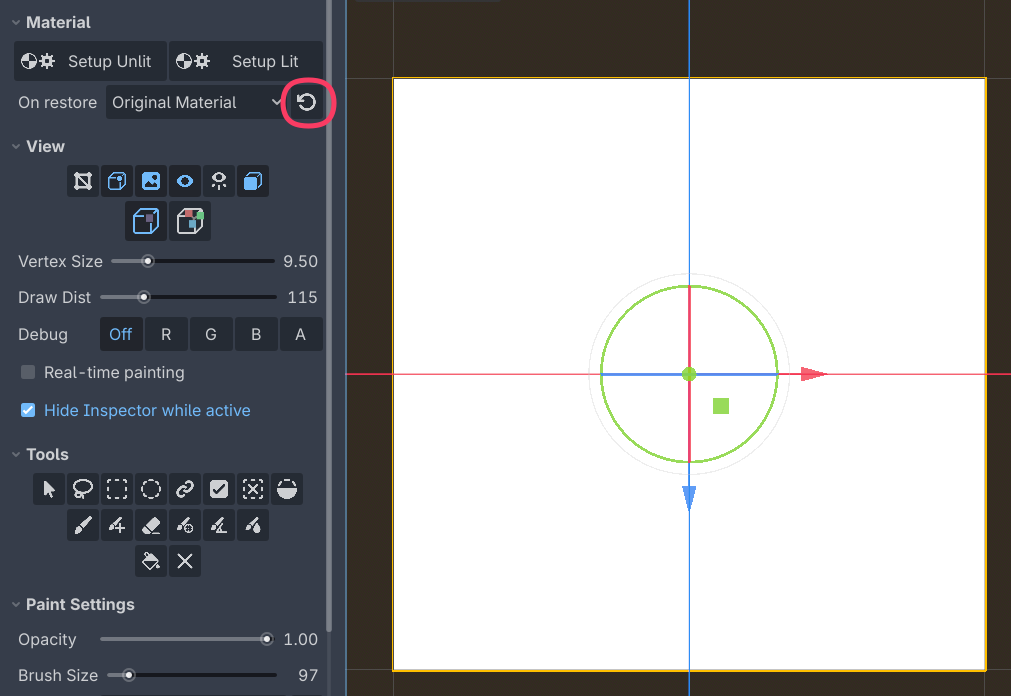
In Material > On restore make sure the value is Original Material and then click the restore button.
Select the
Brush(B), and afterSwatches, select theAchannel.
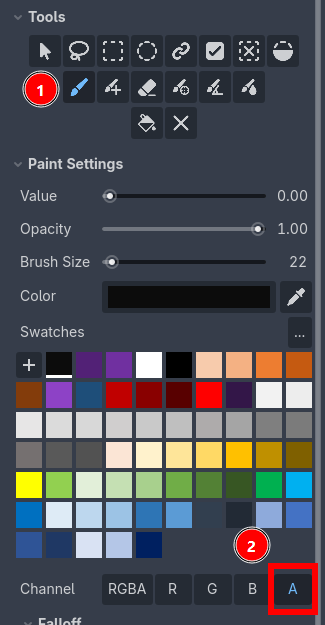
When painting in these separate channels, the color is not important. What is important is how you adjust the
Valueand theOpacitysliders.
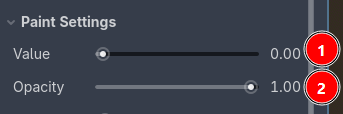
Valuedictates the weight from0.0to1.0.Opacityis how strong are you applying the valor.
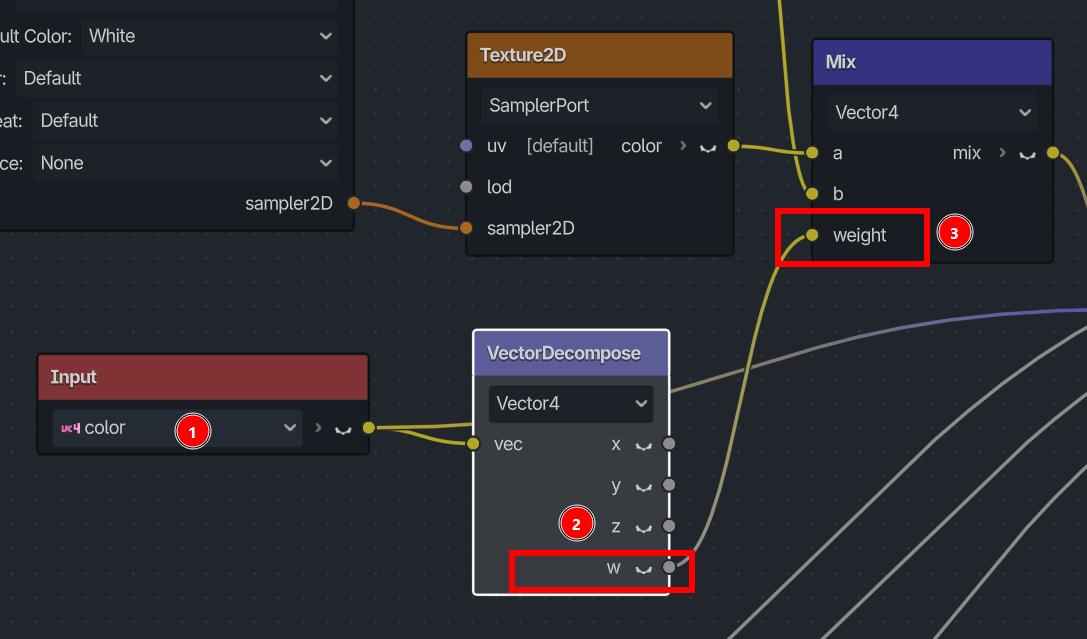
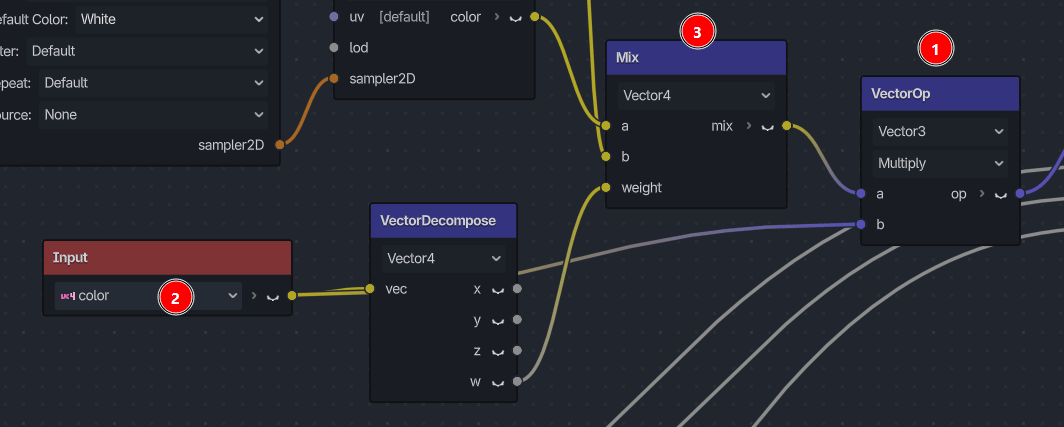
Then it’s up to your shader to use this information in whatever way. In the case of the sample shader, the vertex color (1) is broken down into its separate RGBA channels, and then the alpha channel (2) is used as the weight of the Mix node (3):
Note
In the end, the Value slider is also technically a color, it represents a grayscale value range, where 0.0 is pure black and 1.0 is white.
Now, just paint as you like. You can adjust the
Opacityand the brush size ([ and ] in the viewport) to create even more blending and variation. You can also use theEraser(Shift+E) to remove parts of the painting, and with it in low opacity, you can create subtle transitions.
Tip
Vertex Studio supports painting in the Godot 3D viewport both in Perspective and Orthographic views.
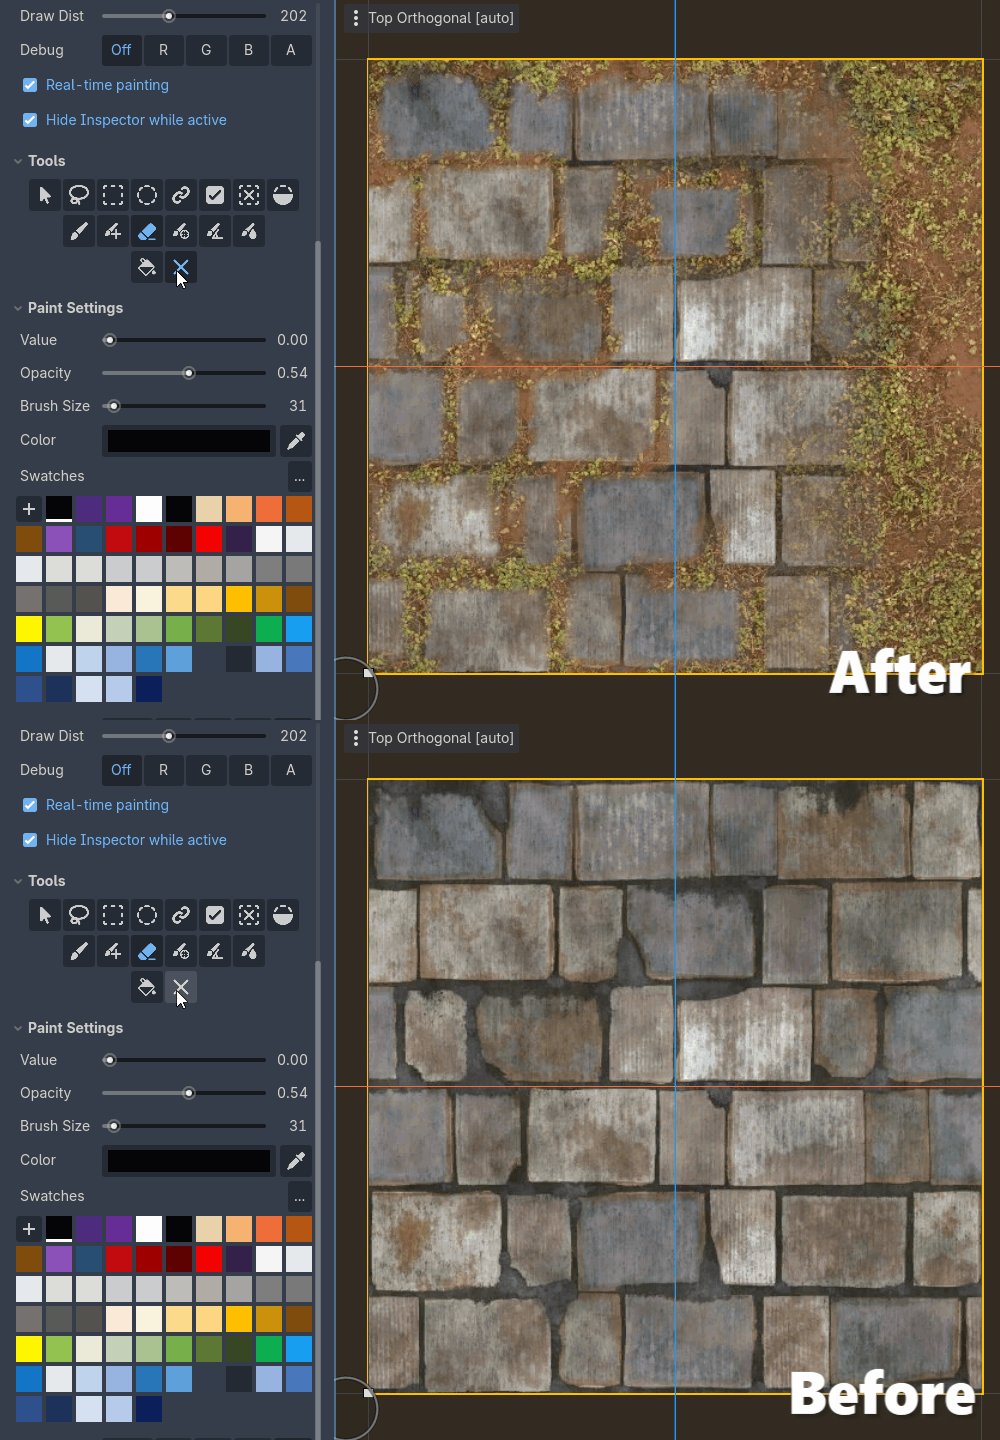
Visualizing the Alpha channel
To visualize the what is currently painted in the separate channels, you can use the debug view modes of the Vertex Studio Setup Material.
Go to
Materialand clickSetup Unlit.In
View > DebugclickAto visualize the alpha channel.If you want to see your material back, in
Material > On restoremake sure the value isOriginal Materialand then click the restore button.You can alternate between the setup material and your material as many times as needed.
Using vertex colors on top of the texture blending
Our shader multiplies (1) the vertex colors (2) with the final color that comes out of the texture blending (3). So it supports adding the vertex colors on top of the textures.
After
Swatches, inChannel, select theRchannel, hold Shift and click theGand theBchannels, now, theR+G+Bchannels are selected additively and painting will affect all three channels at once.
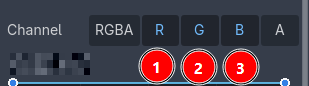
Note
Why not click the RGBA button to select all channels at once? Because we already painted in the A channel. If we paint in the RGBA channel, it will override what we have painted previously in the A channel.

Now, paint as you like. Notice how the color goes on top of the blended textures. If you erase, use the
Fill ToolorErase All Tool, they are going to affect only the selected channels.You can inspect the colors painted. Like before, go to
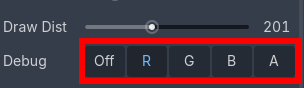
Materialand clickSetup Unlit, inView > DebugclickOffto visualize all channels at once or clickRorGorBorAto visualize the colors and values in each channel.
Tip
Vertex Studio inlines what you do in the mesh data in the Scene file. And since this is a high poly mesh, the file might get quite large. For that reason, you can save it as a binary scene scn instead of a text scene tscn.
Help me! Everything is white!
In case you close and re-open the scene in Vertex Studio, and the mesh is all white, it’s just because Vertex Studio by default re-applies the setup material.
What you painted is still there in the mesh data, it’s just not being displayed. To fix this, in Material > On restore make sure the value is Original Material and then click the restore button.
See the The mesh is all white or I lost my vertex colors page for more.